
Final result: 47th out of 138 cars, 5th in Class C out of 18. Best of all: no tech flags, no black flags, NO CONTACT with other cars, and she ran all weekend during incredible weather.
Baby George even made the Official LeMons Video Recap with a "Hella Sweet" tag! See it here: http://www.youtube.com/watch?v=gGvjMUzmwII
 |
| MGB-GT at speed, New Jersey Motorsports Park Thunderbolt track, August 2013, Scot at the wheel. |
 |
| George Alexander Louis in the Royal Buggy on the way to the race looking forward to a Gormless Weekend |
 |
| Scot trimming the steel-braided fuel hose access hole in the MGB GT Battery Box cover (under which the fuel pump lives). |
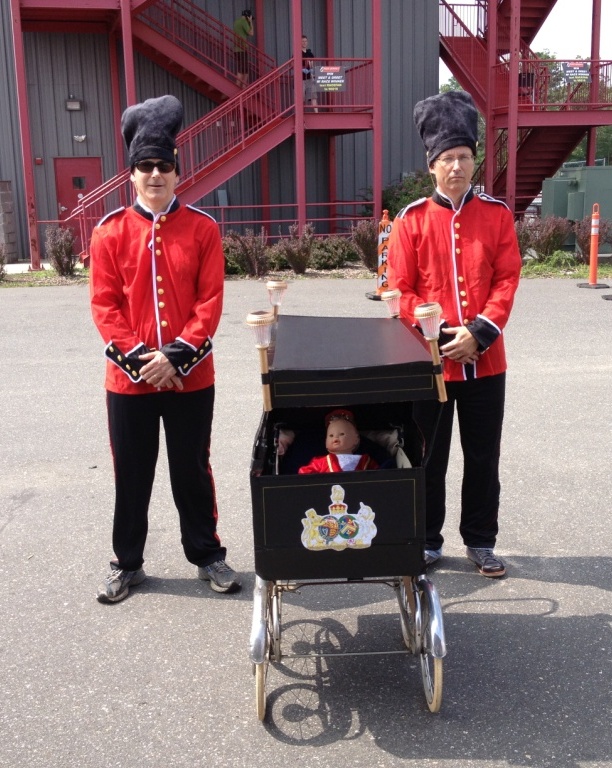 |
Prince George demanded the attention of the LeMons judges, so the Royal Guards stood outside the judge windows for about 5 minutes until they were noticed and a ruckus ensued. pip pip! |
 |
| We passed tech: we were already a winner. George is already hitting the sauce pretty hard. Left to Right: Kurt, Ray, Brandon, George Alexander Louis, Carl, Scot. |
 |
| Last minute repairs: had to move wheel weights so they wouldn't rub on hand brake. The weights ended up falling off anyway, that's probably why we lost the race. |
 |
| Our nearly empty garage space. The Gormless MGB GT needed almost zero work over the weekend, it was quite brilliant. |
 |
| Ray in the lead, dodging the 4 foot poo that was deposited on the last turn before the straight by a Subaru. It was hilarious watching cars come around the bend pedal to the floor and then noticing a 4 foot poo on the track, then a delay, then a dodge to one side or the other. |
 |
| Stealing Ice from George Alexander Louis' beer cooler to refill the home made cool shirt cooler. Blessed, heavenly, wonderful, life giving and affirming cool shirt cooler. |
 |
| Scot and Kurt check the vitals and top off the oil, which was being lost more by crankcase vent spewing than by burning as far as we could tell. A visit to AutoZone Millersville Saturday night and they scrounged an O-Ring, then shaved it to size, so the valve cover oil filler cap would not leak: it then proceeded to leak from every other place... |
 |
| ...while Ray and Carl strap in Brandon for his 2nd and award-wining 2 hour stint. |
 |
| Gormless Racing MGB GT, quite possibly going the wrong way on the track... (it's an English thing) |
 |
| Gormless Racing made Car & Driver's blog.... first and last time I assure you |
 |
| Some idiot, standing guard and refilling George's bottle with Guinness every 1/2 hour. Session beer indeed. |
 |
| Refilling at the gas pump: the only way to go!!!! |
 |
| It was an honor and a privilege to race against a Rolls Royce... the Rolls Royce! We were about to take down that frenchie in front of us like Nelson in the... well maybe not. |
 |
| New Jersey Motorsport Parks Thunderbolt track from the air. |
 |
| It looks so innocent.... |
Links to Videos and Pictures of the Race:
- Official LeMons Video Recap: http://www.youtube.com/watch?v=gGvjMUzmwII
- NJMP LeMons 2013 - THE MOVIE! https://www.youtube.com/watch?v=0uVeA6Q5-vo
- Official Results (no pics): http://www.24hoursoflemons.com/jersey13.aspx
- Judge Phil's Uber Gallery: http://www.murileemartin.com/UG/LNJ13/LNJ13.html
- LeMons Facebook photo gallery: https://www.facebook.com/media/set/?set=a.10151657138439495.1073741837.36766739494&type=1
- 300+ photos: http://flic.kr/s/aHsjHABuQk
- Video, a lap behind the race winner: http://youtu.be/ye4jtRNB-j8
- Near Orbital Space Monkeys spin out in T4: http://youtu.be/3FLl3mUPwgI
- https://www.youtube.com/watch?v=SWLiMWHTFbQ
- Team Cardoks #901 vs Ziegel Scheißhaus Racing #281


